
Step-by-Step Breakdown of the Roof Replacement Process
- Apr 18
- 6 min read
Replacing a roof is a significant expense, but it will keep your home safe and secure. At first glance, the roof replacement process might seem overwhelming, but this northwest roof maintenance guide breaking it down for you. It can help you be well prepared for what to expect. Whether you're replacing your roof or repairing damage, understanding the roof replacement process will not only help put your mind at rest but also help you make a confident investment.
1. Inspection and Consultation
The first step is to inspect the roof. The roofing contractor will inspect your roof to determine whether it needs replacement or can be repaired to extend its life. In this stage, your contractor will:
Inspect roof: Shingles, underlayment, flashing, and roof structure are examined for leaks, mold, and other concealed problems.
Measure the roof: Take precise measurements to ensure an accurate estimate and buy the right amount of material for the replacement.
Explore replacement options: If the roof needs replacement, the contractor will explain the available materials (asphalt shingles, metal, clay tiles, slate, etc.) and the most suitable and cost-effective choice for your property.
After the inspection, the contractor will present an estimate covering the cost of materials, labor, and any other potential costs incurred throughout the roof replacement. It's also a good time to discuss financing if you need a loan for the roof replacement.
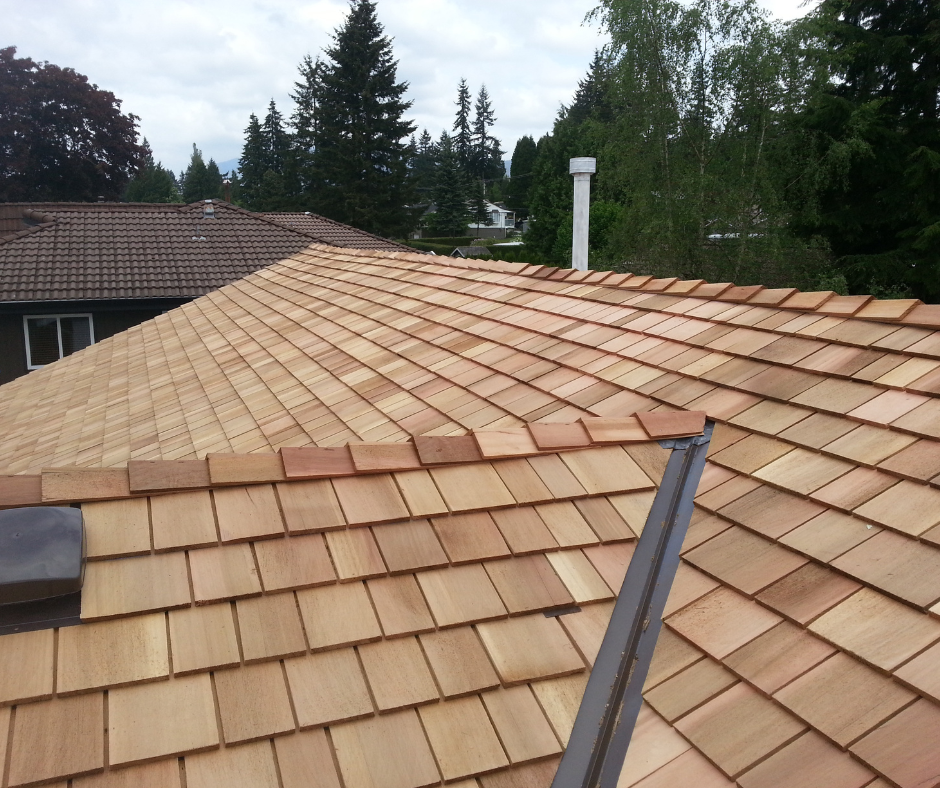
2. Material Selection
The next consideration in the roof replacement process is roofing materials. This is an important choice, as the roofing materials can affect the lifespan, appearance and price of your roof. Popular roofing materials include:
Asphalt Shingles: A cost-effective and popular choice, providing durability and a range of colors and textures.
Metal Roofing: Durable, energy-efficient, and increasingly popular for its environmental benefits, metal roofing is a great choice for homeowners seeking a low-maintenance roof.
Clay and Concrete Tiles: Ideal for hot climates, these tiles are highly insulating and add a distinctive luxury to your home.
Slate Roofing: Luxurious, durable, and expensive, this is a high-end roofing material.
Your contractor will assist with material selection, discussing the benefits and drawbacks of each in consideration of your needs, budget, and aesthetic preferences.
3. Preparing the Site
When the material is chosen and the project is planned, site preparation begins. This step is crucial for a safe and efficient replacement. Preparation typically involves:
Safeguarding the property: The roofing company will cover the areas around the house with tarps or plastic sheeting to protect your lawn, driveway, and other landscaping.
Clearing the roof: Any satellite dishes, chimneys or other items that could interfere with the roof installation will be removed or repositioned.
Safety precautions: The work area will be cordoned off to keep workers and your family safe. Ladders or scaffolding will be installed to provide access to the roof.
Thorough site preparation is essential for the safety of workers and your family and for safeguarding your property while the roof is being replaced.
4. Roof Removal
Once the site is ready, it's time to remove the existing roof. This can be a time-consuming part of the roof replacement process, as the current roof must be removed and disposed of before the new roof can be installed. This involves:
Removing shingles or tiles: The existing shingles or tiles will be removed, along with any nails or fasteners that were used to secure them.
Inspecting the roof deck: After removing the old roofing materials, the roofing contractor will inspect the roof deck (the layer of material beneath the shingles) for rot or other damage. The roof deck will be repaired or replaced if necessary before the new roof materials can be installed.
Cleanup: After the roof is removed, the contractor will remove any debris and properly dispose of the old materials, ensuring your property is safe and clean.
The process of removing a roof can be loud, so it's worth preparing for this, especially if you have small children or pets.
5. Repair Roof Deck (if necessary)
Once the existing roofing has been taken off, the roof deck is carefully examined. The roof deck can be affected by moisture, insects, and deterioration, which can weaken the structure. If damage is detected, such as rot, the deck will need to be repaired or replaced.
At this point, the contractor may:
Replace damaged boards or sheathing: If boards or the sheathing are damaged or rotted, they will be replaced.
Provide adequate ventilation: Ventilation is critical to prevent mold, rot, and condensation. The contractor may add vents if your roof is not well-ventilated.
This prepares the roof for installation and ensures it's free of issues.
6. Installing the Underlayment and Flashing
Prior to laying the new roofing material, an underlayment is installed on the roof deck. The underlayment provides an extra layer of protection against water and enhances the roof's waterproofing. The two main types of underlayment are: Click to find more about What is Synthetic Roofing Underlayment?
Felt Paper: This traditional underlayment is a combination of fiberglass and asphalt and provides a good barrier against water.
Synthetic Underlayment: This newer, more durable, lightweight, and UV-resistant underlayment material is also available.
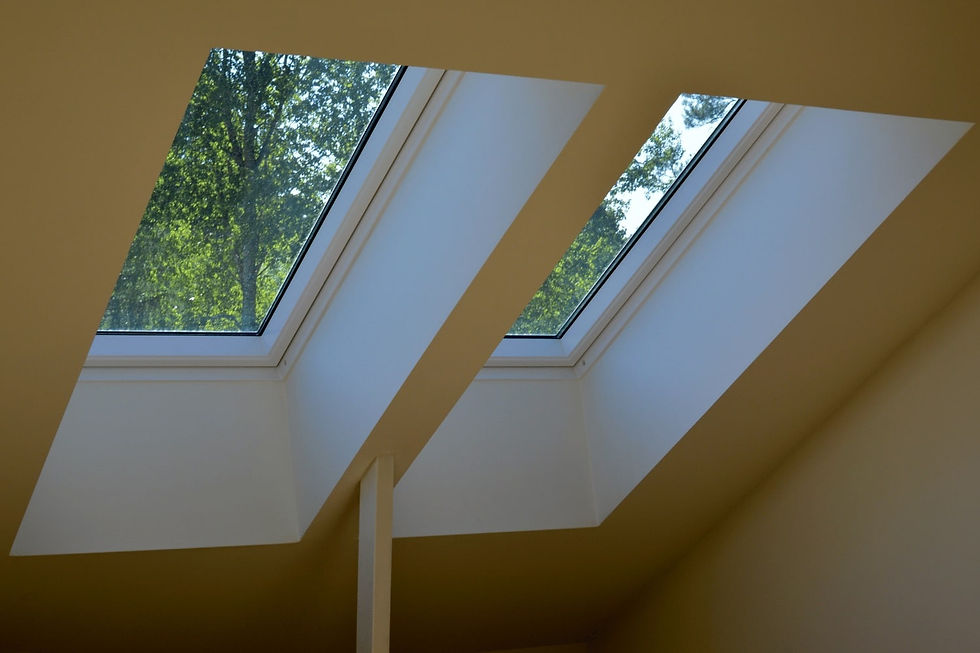
Also, flashing is applied around chimneys, vents, and skylights. Flashing helps divert water away from these areas, preventing leaks and moisture issues.
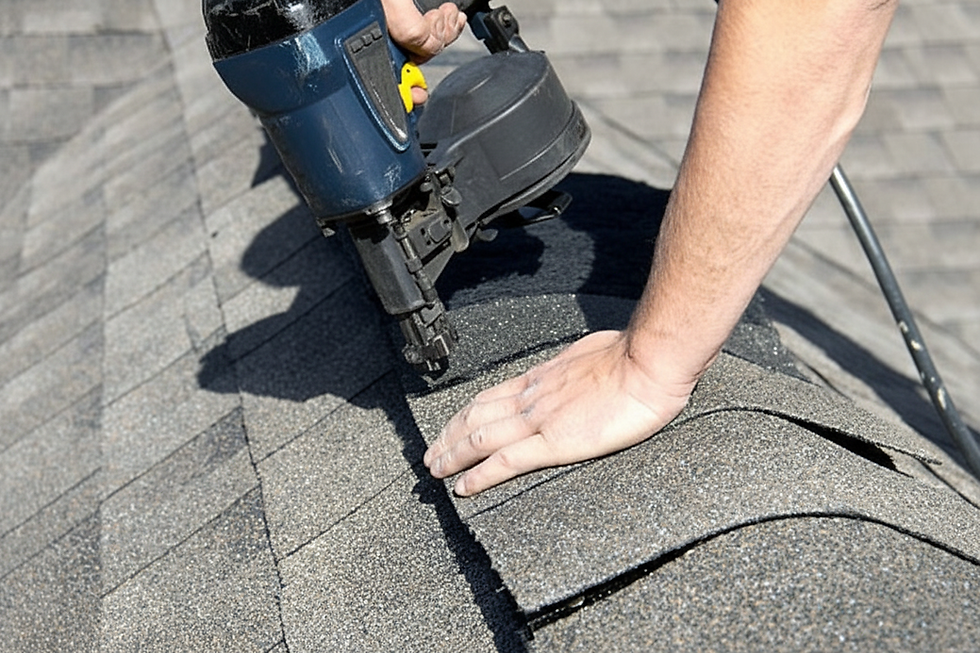
7. Applying the New Roofing Materials
With the underlayment and flashing installed, it's time to install the new roofing materials. The order of installation will depend on the roofing material you've chosen, but typically includes:
Installing shingles or tiles: With asphalt shingles, the contractor will lay them in rows, starting at the bottom of the roof and working up. With tiles, the contractor will work row by row, ensuring each tile is aligned correctly.
Nailing or stapling down: The materials are nailed or stapled to the surface. To further secure the products, some contractors will also use glue to prevent wind uplift and keep the roof in place for years to come.
This is an essential part of the roof installation process and helps ensure the materials are installed properly, so they perform at their best and last as long as possible.
8. Inspection and Clean Up
Once the roof has been installed, it's time for a final walkthrough to ensure it's installed properly and meets all building codes. The roofing contractor will ensure that:
Proper placement and installation of materials
Proper flashing and sealing
Appropriate attachment of shingles or tiles
After the inspection, the contractor will tidy up the job site, disposing of any remaining materials, debris, and equipment. You will then have a stunning new roof that will stand the test of time.
Frequently Asked Questions (FAQs)
1. How long does it take to replace a roof?
The time required to replace a roof depends on the size of the house and the roof's complexity. Typically, a roof replacement takes one to three days. This can take longer for larger homes or more complex roofs.
2. When should I replace my roof?
Signs that your roof needs replacing include frequent leaks, damaged or missing shingles, sagging roof sections, and general wear and tear. Consulting a roofing professional can help you decide if it's time.
3. Can I live in my home while the roof is being replaced?
Your home will likely be safe to stay in during roof replacement. However, there will be some noise and minor inconvenience. Consider making arrangements for pets or small children if necessary.
4. How much does it cost to replace a roof?
Several factors affect the price of a roof replacement, such as the roof size, roofing materials, and labor costs. The typical cost range for a roof replacement is $5,000 to $15,000. Be sure to obtain several bids to get the best deal.
Conclusion
Replacing a roof is a significant undertaking, but knowing what to expect at each stage can help you stay well informed. Each step from the initial inspection to the final inspection and cleanup plays an important role in the success and longevity of your roof. By selecting the right roofing materials, hiring a reputable contractor, and following each step of the process, you can rest assured that your home will be well-protected for years to come. Choose the best services for your roofing needs.

Comments